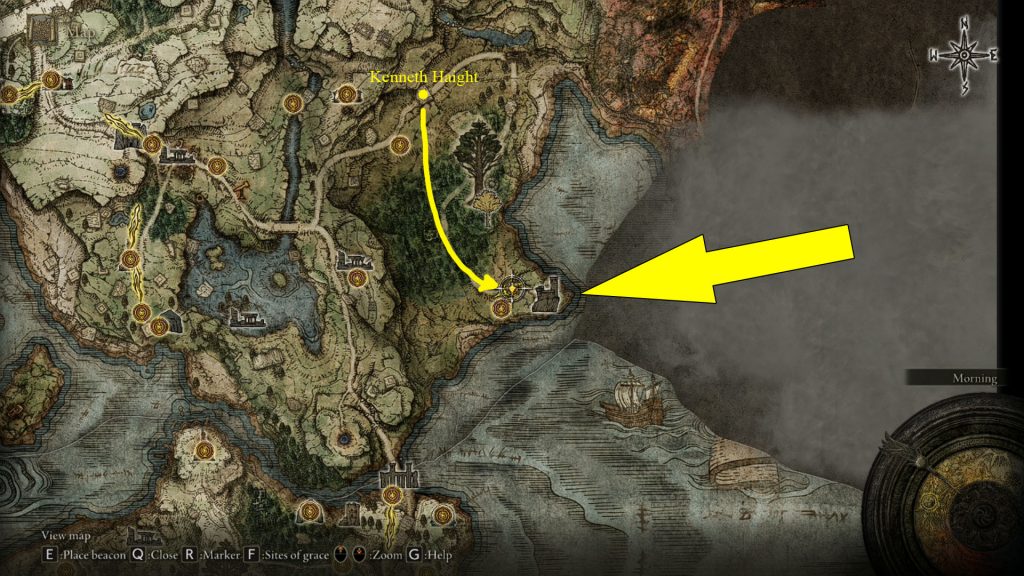
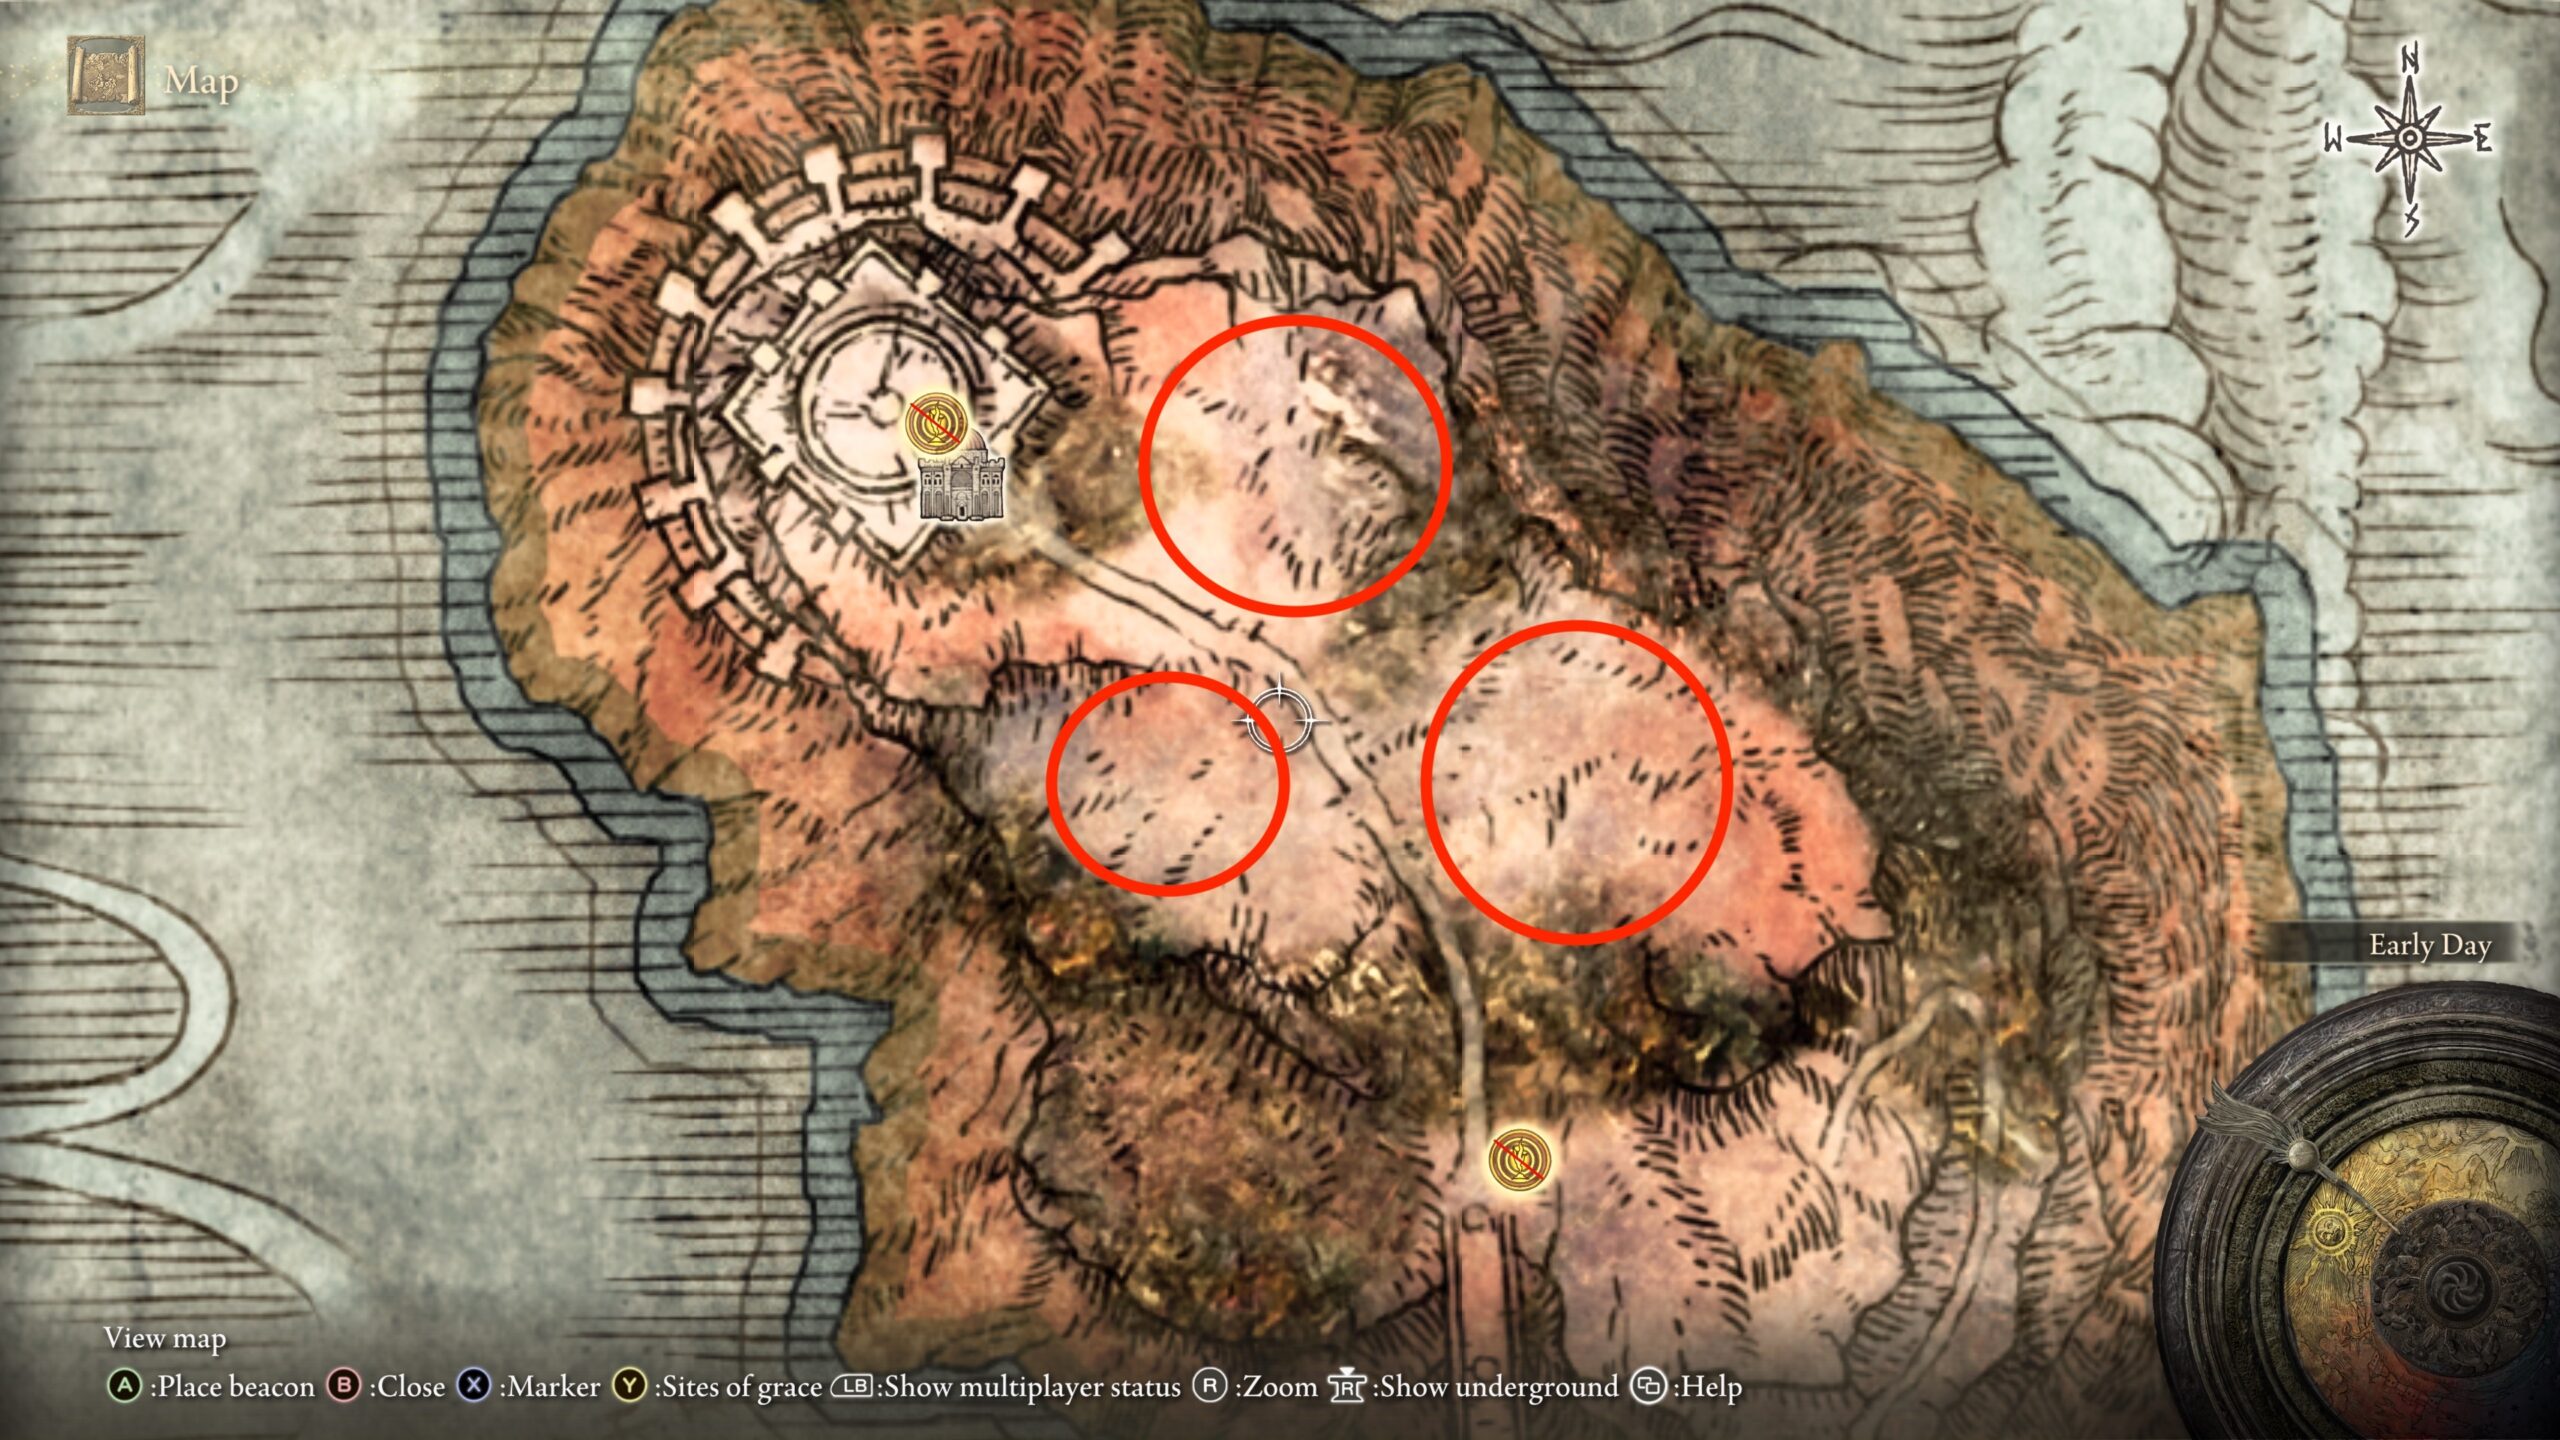
Where Gelmir Hero Grave Is (and how to get there without getting lost)
Head to the western side of Mt. Gelmir. From the Seethewater River Site of Grace, follow the path north, then swing west across the lava field. Cross the stone bridge guarded by soldiers, and look for a door cut into the cliff – that’s the entrance to Gelmir Hero Grave. If you hit Volcano Manor directly, you’ve gone too far; loop back along the cliff path.
Why this grave feels different
Most dungeons throw mobs at you. This one weaponizes the level itself. The fire chariot will one-shot you if you mistime a step. Skeletons distract you just long enough to get flattened. Fire pillars force you to stop and think instead of sprinting. It’s less “fight well” and more “move smart.”
| Thing You’ll Face | What It Does | How to Handle It |
|---|---|---|
| Fire Chariot | Rushes up and down hallways and instantly kills on hit. | Hide in alcoves, move on its rhythm, and use drops to bypass sections. |
| Respawning Skeletons | Stand up again if you don’t finish them properly. | Either finish with holy damage or ignore if they’re only bait. |
| Flame Pillars | Blast fire on a timer and block your route. | Smack the base or hit it with a projectile to lower the flames briefly. |
| Narrow Platforms | Leave little room to dodge or heal. | Equip light load for longer rolls; don’t panic roll off edges. |
Step-by-step route (clean and repeatable)
- First slope: Watch the corridor until you learn the chariot’s timing. When it passes upward, sprint to the next alcove. Don’t get greedy; only move one pocket at a time.
- Use the drops: Look over edges for safe ledges. A drop on the right side leads to a lower path with loot and fewer chariot passes.
- Lower hall with flames: A room with a flame pillar blocks the way. Shoot the pillar base with a bow (or throw a knife) to disable the fire for a short window, then run through.
- Chariot skip option: There’s a section where you can lure the chariot into destruction by triggering a fire spout at the perfect moment. If that’s too sweaty, ignore it – the normal route still works.
- Ladder up and around: After the flame room, climb up, take the outer ledges, and you’ll loop back above the starting slope, now with a safer path to the fog door.
Loot worth the stress
Gelmir Hero Grave packs solid rewards for hero and bleed-leaning builds, plus upgrade materials you’ll want for Spirit Ashes. Keep your eyes open; most chests are tucked right after a trap corridor to tempt you into rushing.
| Item | Why You Want It | Where You’ll See It |
|---|---|---|
| Bloodhound Knight Floh (Ashes) | Fast, aggressive summon; pairs well with bleed setups. | Side path off a lower ledge; listen for patrol audio to time your move. |
| Deathroot | Feed to Gurranq for beast spells and rewards later. | Near a tucked-away chamber after a chariot run. |
| Ringed Finger (hammer-type) | Funny looking, but it bonks hard and staggers well. | Loot chest past a flame pillar section. |
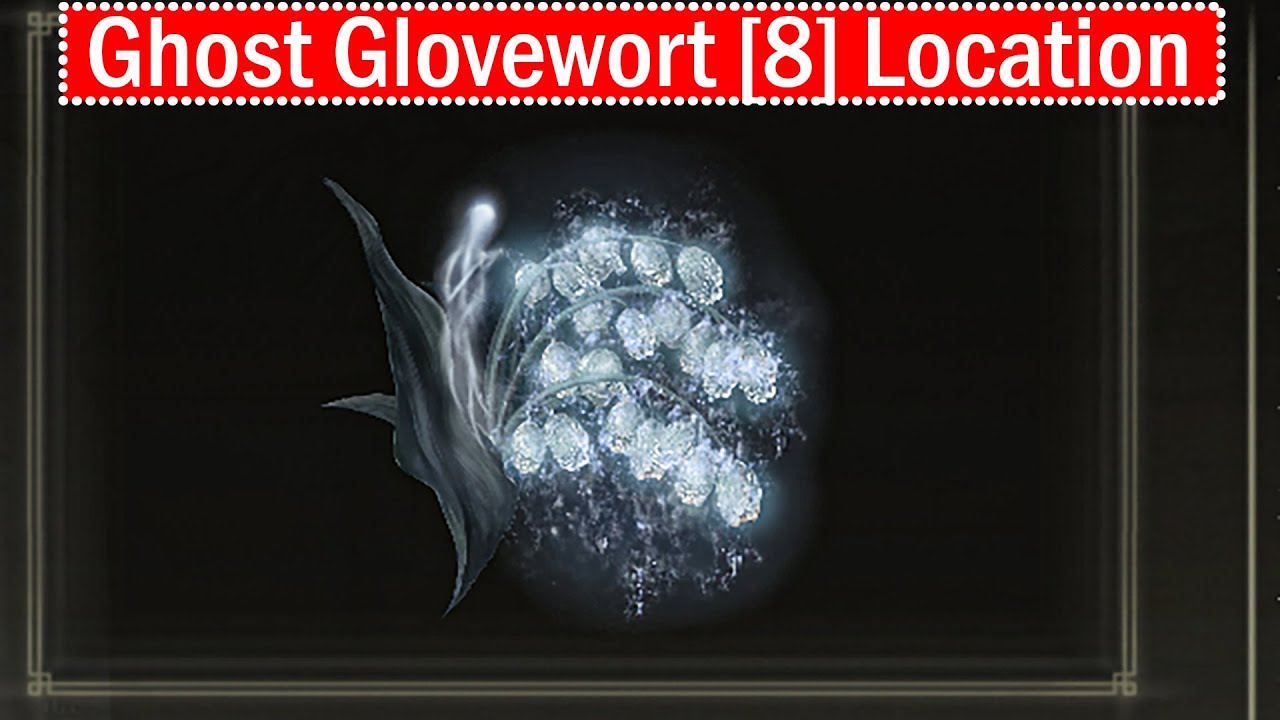
| Ghost Glovewort (7-8) | High-tier spirit upgrade material; rare this early. | Along outer ledges and dead-end alcoves. |
| Gelmir Knight Set | Good fire resistance and slick look for fashion souls. | Drops in the deeper chambers and side rooms. |
Boss: Red Wolf of the Champion (how to keep your flasks)
This is a meaner cousin of the Liurnia wolf. It mixes bite chains with magic swipes and flame attacks. The fight rewards clean dodges and short punish windows.
- Spirit choice: Wolves or Floh are great to split aggro. Lone Wolves keep the boss busy; Floh applies pressure.
- Movement: Roll sideways at the last moment; backward rolls get tracked and clipped.
- Punish wisely: After the long leap or spinning flame swipe, you have time for one heavy or two lights – then reset.
- Gear notes: Light to medium load helps. A fire-resist talisman or Fireproof Dried Liver smooths out chip damage.
Why people wipe here (and how to stop)
It’s not your build. It’s your tempo. Gelmir Hero Grave is a rhythm game pretending to be a dungeon. You die when you rush an alcove, chase a skeleton, or roll early at a flame pillar. Shift your mindset: watch, wait, then move once. You’ll clear more on the next attempt than in ten reckless runs.
First-run checklist
- Spend most of your runes before entering; accept you’ll die learning the timing.
- Equip a bow or throwing knives to toggle flame pillars safely.
- Bring Holy damage if you insist on clearing skeletons; otherwise, ignore them.
- Keep load light for longer i-frames and better ledge control.
- Listen for the chariot motor; the sound tells you when to sprint or freeze.
Quick route recap (TL;DR)
Alcove → sprint one pocket at a time → drop to side path → disable flame pillar → climb ladder → outer ledge loop → fog door → Red Wolf. If you want style points, bait the chariot into blowing up; if not, stick to the safe loop and keep moving.
Final thoughts
Gelmir Hero Grave looks like a troll dungeon, and honestly, it kind of is. But once the timing clicks, it becomes weirdly satisfying – a puzzle of sound cues and small sprints. Clear it, grab your ashes and upgrades, and you’ll notice the rest of Mt. Gelmir feels calmer. It’s less about perfect combat and more about staying cool when the level itself tries to kill you.